

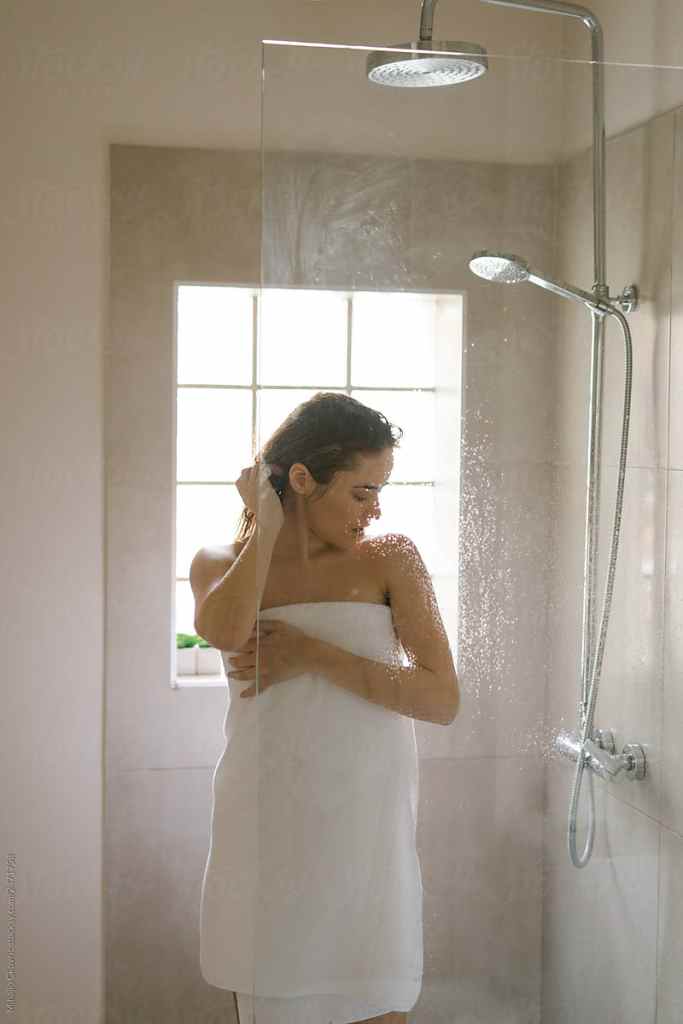
If you have never taken an everything shower, or have never heard of an everything shower, let me educate you. An everything shower is a once a week shower (technically it could be more than once a week, but why?) that allows you to do all the maintenance and reset of your hair, skin, and body in one fell swoop. It is not for the faint of heart, but once you get the steps down, and have the right products, it will become a ritual you will look forward to.
So where do you start? First is the preparation, then is the shower, then is the after shower care. If you break it up into sections, and then break it up further into parts of the body it is simply easier to remember. At the end of this post, I have included a simple list of steps, with no explanations, that will help you see that while this may all seem intimidating at first, it’s really not that bad.
A couple of notes:
- Before you take an everything shower, you need to have everything ready both in your shower and in your bathroom. You don’t want to be in the middle of your shower and forget a component and then have to worry about slick surfaces.
- Everything showers take time. Don’t take an everything shower when your babies are sleeping or right before a big event. I set a time each week so I know not only to make sure everything else in my life is done for that day but when my family is engaged in other things. This also helps my family know before hand that I am not available to carpool, run their errands, or basically be the wife and mother I am the rest of the day.
- When you take an everything shower don’t use scalding hot water. No one should be in scalding hot water for a long length of time; not only will the hot water possibly run out, but your health can be affected (think of the warnings you see every time you enter a sauna). I have heard of people who have gotten dizzy during one of these showers, so keep it to lukewarm, edging towards cold water.
- Drink a large glass of water before and after an everything shower. It will help keep you hydrated.
- Intimidated yet? Keep Going!
This website, and all our social media platforms, may contain affiliate links. When you click on, and/or make a purchase through one of the affiliate links we may receive a small commission
or other compensation at no cost to you. Please assume that any links on our
social media platforms are affiliate links. As an Amazon Associate I earn from qualifying purchases. Our use of affiliate links,
however, do not drive our opinions or influence us in any way.
To get ready for your shower, you need to do a couple of things:
- Get your scalp ready for oils and your conditioners. You can always use your hands but I like to take a boar bristle brush – make sure you get one for your hair type – and brush my hair with 100 strokes (if it worked for my grandmother); if you are looking for a cheaper alternative this one is also a boar brush and will work. Or use a scalp scrubber to get in deep. The goal with getting your scalp ready is not to move your hair in circles and cause damage or tangles, but rather to move your scalp. Think of your scalp as skin like on your hands, you want to move the skin not the hair.
- Oil your hair. I use Mielle Rosemary and Mint oil on my scalp and OGX Miracle Oil on the shafts and ends of my hair (don’t double up and use both on your scalp). You don’t need a lot of oil, a few drops placed where your hair is either thinning or damaged will do the trick (don’t forget underneath your hair, there’s scalp there). Make sure you put on the scalp oil before you put on the oil for your the shaft and the ends of your hair. Then simply put it up in either a bun or a slick back.
- How long you leave the oil on is, I’m afraid, a little bit of trial and error. The first time I used oil, I left it on for three hours and it took so many washes to get all the oil out. The second time I left it on for ten minutes and it felt like I just washed it all out. You want your hair to feel silky soft when you are done with your shower. I know plenty of people who oil their hair before going out on errands. I know people who sleep overnight with the oils in (however, I wouldn’t recommend this as it can actually damage your scalp). And I know people, like me, who leave it on for twenty or thirty minutes and are good to go. There are articles and thought processes out there that could help you determine what is best for you and I encourage you to look into it.
- While your hair is soaking, it is time to drink that glass of water.
- While your hair is soaking, it is also a good time to dry brush if you like that feeling. It can certainly lead to smoother skin and is reported to be good for lymphatic drainage. I don’t dry scrub but this brush comes highly recommended. You could also apply a face mask, eye patches, or oil your nails and cuticles with jojoba oil. I use this one from Cliganic. (any that you use needs to be cold-pressed, organic and come in a glass, opaque jar).
- It is also now time to actually get ready for your shower. You’ll want to make sure all the shampoos/conditioners, body washes, clean washcloths, clean towels, a hair towel, a face cleanser, and items like a razor and African net are ready to go. It is also important to have everything ready for after your shower, like your lotions and potions.
- Intimidated yet? Keep Going!
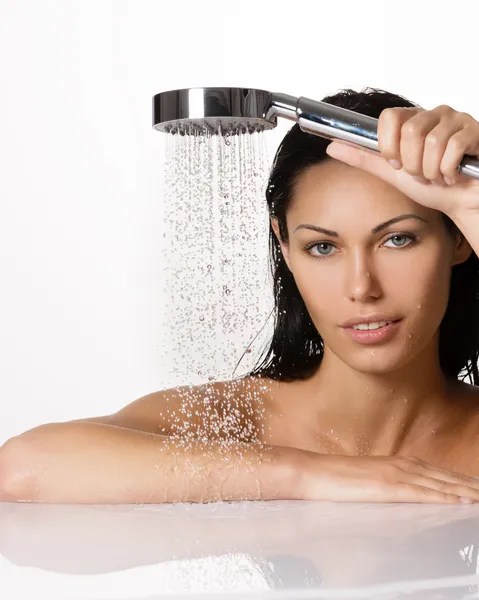
Now it is time for that shower. Remember to use lukewarm water instead of hot.
- Once you get in the shower leave your hair up for the time being. The first step in a everything shower is to wash the dirt, sweat, and everyday grime off your body. Just like you double-cleanse your face, we are going to double-cleanse the body. I use a mild soap from Dial Body Wash. I would also recommend simple Dove Soap bars, or even dial soap bars. We aren’t looking for fancy here, just getting a nice clean. I use baby washcloths made from microfiber to make sure I am getting a gentle exfoliation. Since I am going to be using a harsher scrub on my body later on in the shower, gentle is the way to go here.
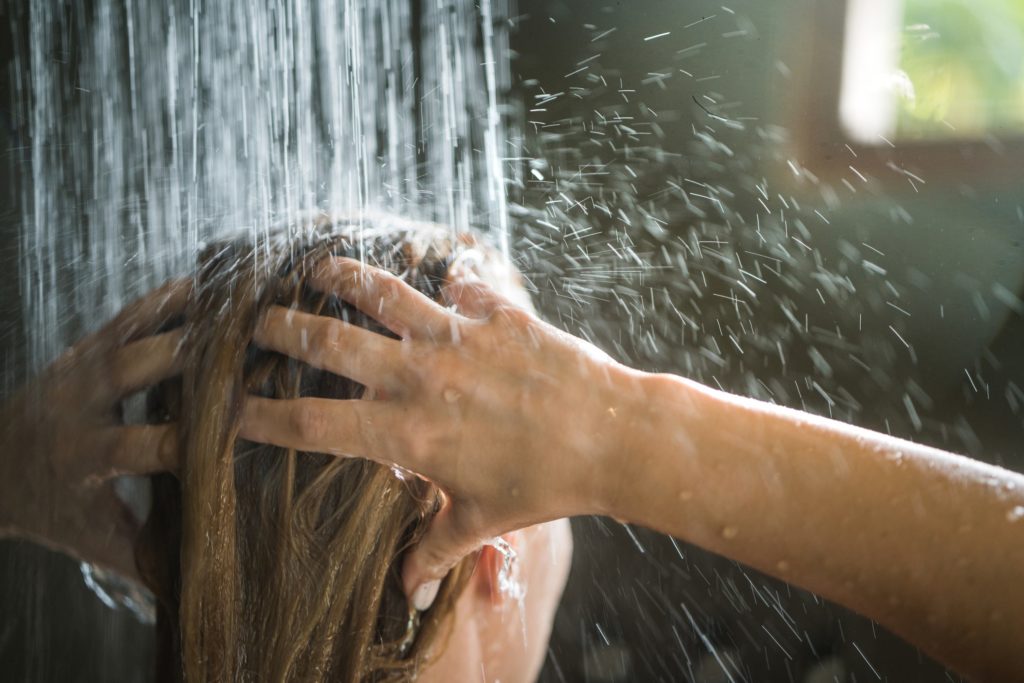
- Now it is time to let down that hair. You will want to shampoo your hair twice (just like you double-clean the face and body, you will do the same here). It doesn’t matter what shampoo you use, although I don’t recommend using a detox shampoo as that will just reverse some of the good you did with the oil. Pick a shampoo that works for you and your hair. It can be as fancy as you want or something you picked up on a whim at the drugstore. I am currently using (although I do change it up from time to time) L’Oreal’s Ever Pure Bond Repair Shampoo. The first time you wash with your shampoo, make sure you are using the pads of your fingers to get to your scalp. You don’t want to leave any oil or residue for your scalp to accumulate and potentially clog those pores (yes, your scalp has pores). Rinse and repeat with the same shampoo. The second time you should notice more suds, which honestly, just feels good. Once you are done shampooing, carefully wring the excess water out of your hair.
- Now we move on to conditioner. This step is actually your choice, but I find it helps lock in the moisture and keep my hair healthy for the next week. Despite what marketing will tell you, you don’t actually have to use the same line of shampoo and conditioner. You can mix it up. I am currently using Amika’s Mirrorball High Shine Conditioner. But feel free to use what it best for your hair. You only want to put the conditioner on the ends of your hair, and leave it on while we move to the next step.
- Now, because I don’t dry brush my body, I like to use a Clean Logic Charcoal Body Exfoliator. Charcoal is a natural detoxifier, and I just prefer this method. Since I am going to be shaving my legs, I start at my feet and work my way up avoiding any open wounds or nasty bruises. From there I move on to my elbows, my chest and under my arms. Manual exfoliators can be harsh, so don’t rub your skin raw (you’re going to need it later). The general consensus seems to be that exfoliating before you shave will help get rid of dead skin cells and make it easier for your razor to reach the hairs you are aiming for. However, I only recommend this on your legs and under arms – the other places you may shave (like the sensitive area down there), don’t exfoliate.
- Now simply rinse out your conditioner, spray it with really cold water, and put it back up in a clip to get it out of the way. You don’t want to use a band here because your hair is already wet and easily damaged. Some people like to use a shower cap, but my hair doesn’t like to stay in one, so I opt for a clip.
- Now it’s on to shaving. Since most people have been doing this since at least high school, I will just say good luck. I don’t tend to recommend razors as everyone has their own preference, although I will mention that pink taxes can be very real.
- Now that you are smooth, your skin may feel a little dry (especially if you have hard water). So it’s time to second-cleanse that body. I highly recommend all of Naturium’s body wash line because I think it’s a great price point, and there is something for everyone. I am currently using two: Naturium’s Bio-Lipid Restoring Wash and Naturium’s Brightener Body Wash. Rather than wash my body each time with both washes (which would be triple-cleansing my body), I actually combine this into a pump dispenser and mix it. And instead of those loofahs that were once all the rage, I use an African net. The African net doesn’t hold the bacteria that a loofah does and you will be surprised how little product you need when using one. Also, African nets tend to be long so they easily reach your back, are machine washable, and dry easily. I am currently enjoying this one, although there are plenty to choose from. So lather up, and don’t forget to wash behind your ears.
- You are almost done! The last step is washing your face. Again, you want to turn the water to chilly or cold. I like using a safe, gentle scrub on my face to make sure that I am not leaving any shampoo, conditioner or body wash residue behind; and finishing strong with a good facial cleanse just makes sense. I use Naturium’s Fermented Rice Enzyme Cleanser. It just feels good, but you can use any foaming cleanser. Make sure you are getting everything off your face!
- And it’s time to shut that water off. (Don’t worry at the bottom there will be a simple list with all the steps)
- Intimated yet? Keep going.

Now it is time to do the after shower routine, which I find much more pleasant than than the previous steps. And boy, I love the feeling of being clean.
- Make sure that you are using a clean towel to wipe off. You didn’t go to all that trouble to use a week-old, dirty towel.
- Put your hair in a towel specifically made for hair. I find it’s best if it’s made from microfiber, and while I won’t lie, the first time I had to figure it out it seemed daunting, it was easy once I got it. It is so much better for your hair than your body towel, so it’s worth a little frustration the first time (or you could just read the directions.) I like using Hicober towels.
- Now to the moisturizing. You want to moisturize your skin within five minutes of getting out of the shower. Also, don’t open the door to the bathroom, letting all that wonderful steam out before you use it to your advantage. I begin my moisturizing by using a glycolic lotion (not an acid). I only use it on the areas that I have KP and on my chest. I am currently favoring Naturium’s Glycolic Acid Body Lotion. From there, I move to the rest of my body. I love Nivea’s Body lotion because it doesn’t interfere with my favorite perfumes and keeps me silky all night long. Slather it on and let all the goodness sink into your skin. Once you feel it is soaking in, go ahead and get in nice, fresh pajamas or clothes (don’t put the stinky clothes back on; again, you went to a lot of trouble to get here).
- You’re going to want to leave your hair in the towel until water isn’t dripping down your skin. After it is sufficiently dry (but still damp), it’s time to spritz some leave-in conditioner/heat protectant. I have been using the same one for years, It’s a 10 Leave-in Conditioner. If you are going to dry your hair, which research shows can be healthier than air-drying your hair, do so on either a cool setting or warm setting. And if you can (another pro-tip) don’t dry it completely.
- From here, it’s time to clean up the bathroom, which just makes me feel accomplished. Don’t forget to drink another glass of water.
- As a last step, I like to spray my face with Heritage Store’s Rosewater Spray. Rosewater, especially after a long shower, just feels good, plus it gives that boost of hydration your skin might need.
That’s it. You made it. I know it seems like a lot, but I’ll write out the steps without the commentary below. Trust me, once you do it, it won’t seem to be anything more than a pamper session, which you definitely deserve. And don’t let anyone tell you differently.
If you have any questions or are wondering where to add another personal step, don’t hesitate to contact us. We love questions and we love to answer them.
The STEPS:
- Massage your scalp.
- Oil your scalp and the ends of your hair. Put it up in a bun or slick-back.
- Drink some water.
- Dry brush, put on a face mask or eye patches, and oil your nail beds.
- Get everything ready for your shower.
- Shower.
- Wash body with gentle antibacterial soap.
- Double shampoo hair. Rinse and wring dry.
- Condition hair. Leave it there to soak.
- Exfoliate body if you did not dry brush.
- Rinse out conditioner and put hair in a clip.
- Shave
- Wash with your preferred body wash.
- Wash your face with your preferred cleanser.
- Dry off, leaving your skin damp.
- Put your hair in a microfiber wrap.
- Lotion your body.
- Use leave-in conditioner
- Clean up bathroom
- Drink glass of water
- Spray your face with a hydrating mist.
- DONE!

Leave a comment